Saturday, December 21, 2019

Tags, Tags, Tags!

Did you know these can be more than tags?! There are 3 tags for each season, and a matching die to cut all 3 out at once. 


I wanted to show they could be used for more than just tags. So, here are my results: 


See, this bundle is for way more than just tags!! Do you agree? Which is your favorite?

Until next time...Happy Craftin'!


Wednesday, December 18, 2019

Bath & Body Works Hand Soap Holders

I have had a lot of fun making these boxes to hold the Bath & Body Work hand soaps. The soap bottles fit perfectly in the box, and some even have a pocket for a gift card.
Which do you like better the snowman, reindeer or those, oh so, popular gnomes?
Thanks for the gnome video Diane! https://youtu.be/gO99FtE5Cmo
The box is a 8 1/2" x 9" piece of cardstock. Score at 2 3/4", 4 1/4", 7" and 8 1/2" on the 9" side, and at 1" on the 8 1/2" side. Cut the score marks up to the 1" score marks and seal for the bottom of the box.
The lid is 5 13/16" x 4 9/16" piece of coordinating Designer Series Paper. Score all sides at 1 1/2". Clip the score marks to make the box lid. Then decorate as desired.
Until next time... Happy Craftin'!

Monday, December 16, 2019

Happy snowman!

I love snowmen, and this little guy is so happy, it makes me happy to look at him!
Doesn't he fill you with joy?!


And don't forget the inside of you card.....


Until next time...Happy Craftin'!


Sunday, December 15, 2019

Meerkats!

I have seen people stamping on plates and cups, so thought I would give it a try. I decided to use the Meerkat stamp set. It is a new Sale A Bration set coming on out on January 3rd! It is FREE with a $50 purchase, doesn't get any better than FREE does it?!  


The little gecko is adorable too!!


What do you think of these cuties! 

Until next time...Happy Craftin'!

Thursday, December 12, 2019

Wood Round Ornaments or Gift Tags

These were by far the best sellers at the two craft fairs I participated in this year. Especially the moose one at the Moose Lodge Craft Fair. Stamping on the wood rounds is really easy. I used the memento ink, and colored them with our Stampin' Blends. I used rhinestones, puff paint, sequins and more, along with a variety of ribbons to decorate them once they were stamped and colored. 


Which one is your favorite?

Until next time...Happy Craftin'!

Saturday, December 7, 2019

Gnome Gift Box

I came across a YouTube video by Diane Kessluk (click here) showing how to make a gnome out of Stampin' Up! punches/dies, and I have so say, I am in love!!! He is so super cute, that I had to give him a go....

I was trying to package the hand soaps from Bath and Body Works for a gift, and my first attempt wasn't tall enough for what I wanted to do, so had to remake it. However, the rejected box was sitting on my desk begging to be turned into something beautiful. Ironically the gift I was taking to the Christmas luncheon fit perfectly in it, so I knew I had to do it!! I was inspired to just make a box lid for it, and then had the idea to use the little gnome on the front. I made a gift card pocket behind the elf, but it could be made with or without the holder. 


I love how it turned out! What do you think?!

Until next time...Happy Craftin'!

Tuesday, December 3, 2019

Stampin' Up! Year End Closeout Sale


Don't forget the Year-end Closeout Sale starts today. There is a list of items retiring from the Holiday Catalog, some are even discounted! 

To see the complete lists go to my storefront at: http://bit.ly/2HoAjHT
The complete lists will be available then. 

Shop early as things will sell out fast, and when they are gone, they are gone! Please use host code: M9TXNMVE

As always, if you have questions...please contact me. 

Happy Craftin'!

Monday, December 2, 2019

IDEAS Blog Hop: Flourishing Phrases


Welcome to the monthly IDEAS Blog Hop. We are a group of international demonstrators who create a monthly bundle of tutorials for our customers and team members. The December bundle, hopefully, helps you get ready for the New Year (think calendars, planners, party invitations or favors.)

I chose to use the Flourishing Phrases Stamp Set, along with Crafting Forever and Make a Difference and made something to help me stay on track with family and friend's birthdays in the upcoming year!

You know I am not going to show you my actual projects, you gotta' buy the tutorial to see them all, but here is a sneak peek of some of the included projects:


But...here is a Christmas card I made to wish you and yours a Merry Christmas and a Happy New Year!!  


The tutorials include current Stampin' Up! products, have color photos, supply lists, step by step instructions, and feature both imperial and metric measurements! There are over 20 projects included, both cards and 3D items included. Would you like a copy of the instructions of all the projects to use for your personal use, or even to use in your classes? Contact me, or your participating demonstrator, to find out how to get your tutorial bundle! They are available for a very low cost or even better, for FREE! 

Once you have received the tutorials, please remember not to share or distribute the printed or electronic copies of these bundles. We have worked hard to provide these exclusive projects for your use. If you know someone that would like to purchase the bundle, please direct them to me, or their participating demonstrator, to obtain their copy. Thanks for your support.

Leave me a comment before you hop on over to Carla's blog to see what she has to help you out with the upcoming New Year!


Tuesday, November 26, 2019

Paper Pumpkin Possibilities Blog Hop - Winter Gifts


Welcome to the monthly Paper Pumpkin Possibilities Blog Hop. We love Paper Pumpkin and love to share our enthusiasm for this monthly box of fun and creativity with you. The Paper Pumpkin kit is designed so you can follow the instructions provided in the kit to make the projects, or use the supplies as a starting point to let your creativity run wild (as we have!) Hop along with us, as we will share alternate ideas on how we used the November Paper Pumpkin Kit: Winter Gifts.

This month's kit was includes the materials to make 24 (6 of 4 different ones) tags! Made as designed, they are sure to make your enhance the beauty of your gifts.


However, for those of you who like cards... they can be made into cards as well. 

I used several kit elements and made this card. I even used the blue tissue paper, that the kit parts are wrapped in, for the faux silk technique. 


I cut a piece of tissue just a little larger than my card stock layer. Using my Stampin' Write Markers in Shaded Spruce and Cherry Cobbler, I colored directly on the holly stamp. I spritzed it with water, and then stamped it on the tissue. I repeated this process until I had the tissue covered the way I wanted it. I used a glue stick and lightly covered the front of a piece of Whisper White card stock. Then, I wrinkled the tissue paper up in a ball, gently straightened it back out, leaving some wrinkles in it, and added it to the white card stock. Add it to the card base. 

Using a sponge dauber, I went over the Real Red cardinal with Cherry Cobbler ink, stamped my sentiment in Spruce ink on one of the tags, and attached them both to the Pool Party tag piece. I layered this over the stamped tissue piece, then added some sequins to complete my card. 

We are so thankful you take the time to hop with us!  Click on the pumpkin below and hop on over to Tricia's blog to see what fun alternate project she has come up with to share with you!

Leave us comments, along the way, and let us know what you think of our projects. 

Happy Thanksgiving to you and yours!
Until next time...Happy Craftin'!

Thursday, November 21, 2019

Bundle Sale

Sale ends tomorrow! Don't miss out! Click here to shop: http://bit.ly/2HoAjHT

Wednesday, November 6, 2019

ICS Blog Hop: Dashing Deer


Welcome to the Inspire, Create, & Share Blog Hop! For November, we are challenged to do a monochromatic card. We can use white or vanilla, and one other color. I cannot wait to see what everyone comes up with! 

I chose one of the deer from the Dashing Deer stamp set as my focal point.  But I also used some elements from Rooted in Nature, and Merry Moose. I used Soft Suede ink and Vanilla & Suede card stock to complete the look. Some images were full strength ink, others I stamped off first. For the deer, I used the Stamparatus, so I could go over him a couple of times to make him really stand out.
 
 
Don't forget the inside, and the envelope!


I was a little worried about how this was going to turn out. But am happy to say, that it turned out just like I imagined it, which, in my card making experience, doesn't happen often!!

Thanks for joining me! Grab a cuppa' somthin', and hop on over to Joni's blog with me to see what she has to share with us!


https://bit.ly/36kzmJD

Until next time...Happy Craftin'!

Monday, November 4, 2019

IDEAS Blog Hop: Birds of a Feather


Welcome to the monthly IDEAS Blog Hop. We are a group of international demonstrators who create a monthly bundle of tutorials for our customers and team members. The November bundle theme features holiday décor, packaging, gifts, tags, ornaments – 3D items that are gifts or that celebrates and/or decorates for a holiday.

I 
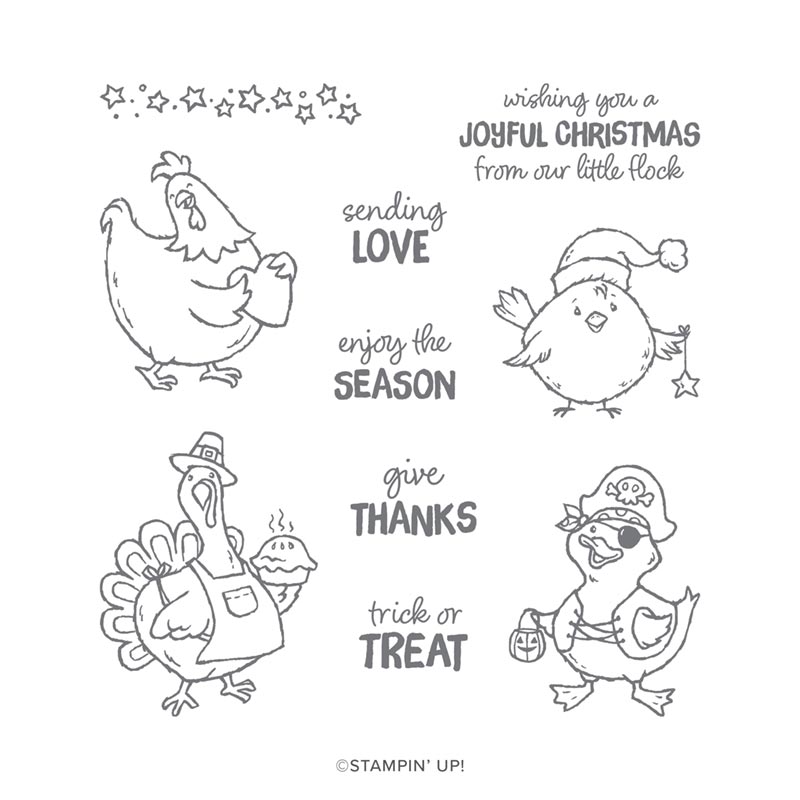
chose to use the cute little Christmas bird from the Birds of a Feather stamp set found in the Holiday Catalog for my project this month. This set includes a bird and a sentiment for Halloween, Thanksgiving, Christmas and even Valentine's Day, and they are soooo cute!!

BIRDS OF A FEATHER CLING STAMP SET 

While I am not going to show you my actual projects, you gotta' buy the tutorial to see them all, here is a sneak peek of some of the included projects:


But, I will show you an alternate project using the same set, so you can see the type of projects you can expect. Isn't he even cuter colored and surrounded by Christmas joy!!


The tutorials include current Stampin' Up! products, have color photos, supply lists, step by step instructions, and feature both imperial and metric measurements! There are over 20 projects included, both cards and 3D items included. Would you like a copy of the instructions of all the projects to use for your personal use, or even to use in your classes? Contact me, or your participating demonstrator, to find out how to get your tutorial bundle! They are available for a very low cost or even better, for FREE! 

Once you have received the tutorials, please remember not to share or distribute the printed or electronic copies of these bundles. We have worked hard to provide these exclusive projects for your use. If you know someone that would like to purchase the bundle, please direct them to me, or their participating demonstrator, to obtain their copy. Thanks for your support.

Leave me a comment before you hop on over to Janey's blog to see what fabulous projects she has to share with us! 

http://bit.ly/2NiNydd

Hope you enjoy the hop! 
Until next time...

Happy Craftin'!


Manic Monday


Tuesday, October 29, 2019

Paper Pumpkin Possibilities Blog Hop: Winter Woods

Welcome to the monthly Paper Pumpkin Possibilities Blog Hop. We love Paper Pumpkin and love to share our enthusiasm for this monthly box of fun and creativity with you. The Paper Pumpkin kit is designed so you can follow the instructions provided in the kit to make the projects, or use the supplies as a starting point to let your creativity run wild (as we have!) Hop along with us, as we will share alternate ideas on how we used the October Paper Pumpkin Kit: Winter Woods.

This month's kit was beautiful cards, evergreens, birch, cardinals and snowflakes...what a winning combo. Here are the finished cards as designed:


I could have made an alternate card, but I have been a little obsessed lately with making explosion boxes. They are fun and easy to make. So, I thought, why not, and I challenged myself to make an explosion box with this month's kit. I love how it turned out:


Here is what it looks like open:


I had to add the Poppy Parade card stock to make the actual box base and lid, but everything else was from the kit. I used the inside of the envelopes for the wood sides, and cut the birch trees down to fit the front. I punched the sentiment from the leftover paper of the birch trees. The little red cardinals and snowflake sequins finished it off perfectly!

We appreciate you hopping with us!  Click on the pumpkin below and hop on over to Elizabeth's blog to see what fun alternate project she has come up with to share with you!

Leave us comments, along the way, and let us know what you think of our projects. 

http://bit.ly/2P9lFH5
Until next time...Happy Craftin'! 

 
If you thought the October Paper Pumpkin kit was a winter cardmaking wonderland, then you can’t miss what is in store for November. This kit (which coordinate’s with October’s kit) has 24 holiday-themed gift tags with four designs each. The tags feature the same nature theme, more beautiful cardinals, plus some new elements you just can’t miss! They’re simple and fun to assemble, and best of all—they make it easy for you to add a personal touch to your holiday celebrations. So ring in the holidays with Paper Pumpkin! 
We help you make the season bright.
Kit details: Makes 24 holiday-themed gift tags of 4 various sizes and designs.
Coordinating colors: Early Espresso, Pool Party, Poppy Parade, and Shaded Spruce
Contact your demonstrator to subscribe now!  If you don't have a demonstrator, I would be honored to have you be part of my Pumpkin Gathering! Click here to subscribe by 11/10.


Saturday, October 19, 2019

Halloween Banner

I have a customer that loves my samplers, but she doesn't attend classes. She prefers to pay me to make things for her. She always wants a banner to go with her samplers, so I made this one. I did pull out some retired lettering and ribbon to finish it off, but it still coordinates with the sampler nicely!


Hope you enjoy!
Until next time...Happy Craftin'!

Friday, October 18, 2019

Wonderfully Wicked Halloween Sampler


Halloween will be here before you know it! Here is a Halloween Sampler I did. I don't really do Halloween, and had not done a sampler for this particular holiday before. But I knew my customers had been wanting one. The Halloween sets in the Holiday Catalog are so cute this year. I focused on the Wonderfully Wicked Bundle and the Monster Bash Designer Series Paper from Holiday Catalog. I had to throw in a couple of things from some other current sets, and even some items from current and past Paper Pumpkins, to be able to finish off my squares. I think it turned out pretty cute and the girls loved it!! The really liked being able personalize their spook family portrait wall too!

Come back tomorrow to see the Halloween banner.

Until next time...Happy Craftin'!