
Welcome to the monthly Paper Pumpkin Possibilities Blog Hop. We love Paper Pumpkin and love to share our enthusiasm for this monthly box of fun and creativity with you. The Paper Pumpkin kit is designed so you can follow the instructions provided in the kit to make the projects, or use the supplies as a starting point to let your creativity run wild (as we have!) Hop along with us, as we will share alternate ideas on how we used the November Paper Pumpkin Kit: Gifts Galore.

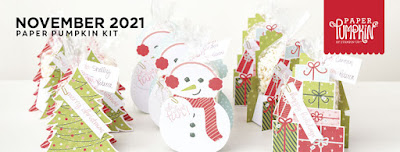
This kit makes 9 gift boxes, 3 each of 3 different designs. Here are the designs:
I love these boxes because they are big enough to put some great gifts in them. I am thinking nail file, finger nail polish and Bath & Body Works hand lotion. Or a sleep mask and lip balm. Or a few Hot Wheels cars for a younger child, Or a lot of candy....
What would you put in them?
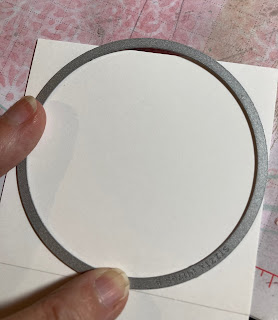
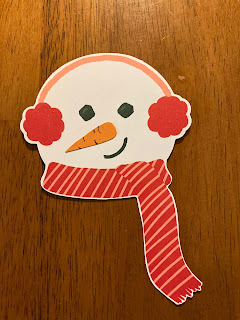
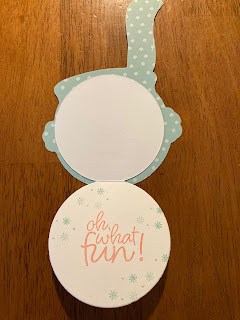
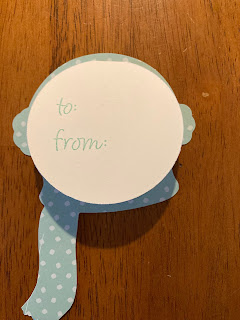
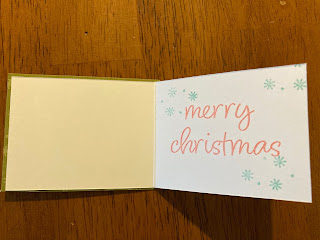
I really struggled for an alternative, but finally decided on making tags. I chopped (gasp!) the head of the snowman. I took a piece of 3 1/4" x 6" piece of Basic White cardstock (c/s) and scored at 3". I used the largest circle from the Layering Circle Dies and laid it on the c/s with the edge of one side of the circle just off the paper and cut it out with the Stampin' Cut & Emboss Machine.
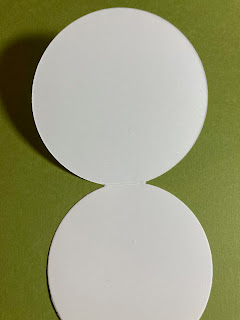
Once it was cut, it looked like this:
I stamped the sentiment, some snowflakes and the To & From on the tag, and then attached the snowman's head. I also added some Wink of Stella to his earmuffs and scarf.
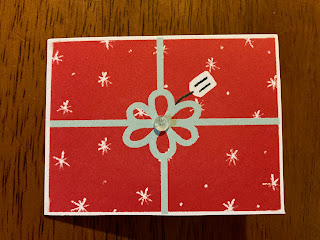
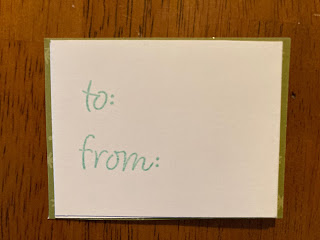
I did the same with one of the presents from the stack of presents. I just cut a 2 1/8" x 5 1/2" piece of White c/s. Scored at 2 3/4", then folded in half. Stamped it and then glued the present on the front. You could do all the presents this way. I added a gem to the center of the bow.
I hope you have been inspired to get your kit out and create. Click on the Next button below and hop on over to Dana's blog to see what Christmas magic she created! So glad you could join us!
It would be awesome if you leave a comment on our projects along the way!!
Until next time...Happy Craftin'!
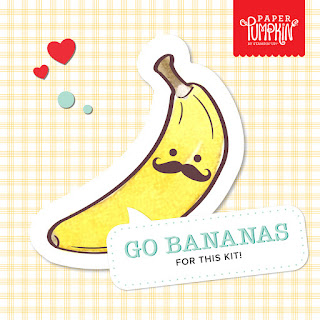
December's kit will be so much "pun"!!
What’s not to “loaf” about a punny joke? It never hurts to have a little laughter, light-heartedness, and humor sprinkled into your schedule. If you’re a fan of fun, get a kick out of clever crafts, and can’t keep it together when you hear a classic knee-slapper, you’ll go bananas over this month’s cute ‘n’ quirky kit!
Details
- The kit contains enough elements to create 9 cards—3 each of 3 designs—and 9 coordinating envelopes. This all-inclusive kit includes printed card bases, die-cut paper pieces, embellishments, adhesive, and more!
- The Lots of Pun Stamp Set is a builder stamp set! This means the included images can be mixed and matched to build a variety of unique characters with different looks and features.
- Card size: 4-1/4" x 5-1/2" (10.8 x 14 cm)
- Envelope size: 4-1/2" x 5-3/4" (11.4 x 14.6 cm)
- Coordinating colors: Crumb Cake, Daffodil Delight, Early Espresso, Granny Apple Green, Pool Party, Poppy Parade
- Includes a Classic Stampin’ Spot


